How to fix squeaky bike brakes (step-by-step)
11 June 2025
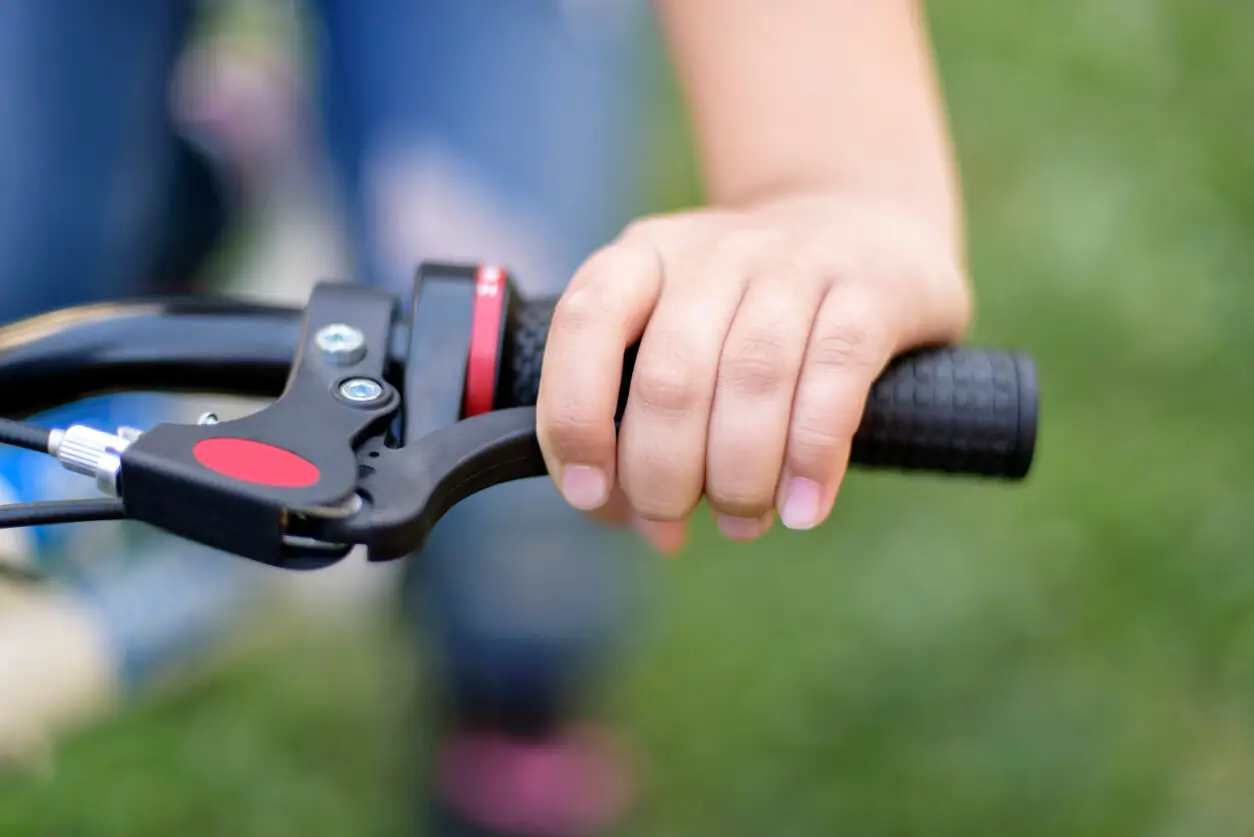
Got squeaky brakes on your bike? We get it—it’s one of the most annoying things that we cyclists face.
While there’s no one-size-fits-all answer to fixing squeaky brakes, we’ve covered every possible cause and the step-by-step process of elimination to follow when it comes to identifying the problem.
That way, you can get to the root of the issue causing squeaky brakes on your bike and get rid of it for good.
Why are my brakes squeaking?
Squeaky bike brakes are a common problem for cyclists, but they're easy to fix. Once you know how to spot the cause, you’ll have your brake performance restored in no time. It’s important to act fast if you have squeaky or squealing brakes, as ignoring the issue for too long could lead to an accident.
Outside of the tell-tale signs specific to certain braking systems, there are a few common reasons behind noisy bike brakes:
⦁ Contamination via oil or grease
⦁ Grit or dirt obstructing brake function
⦁ Poorly set-up brakes
⦁ Worn brake pads
⦁ New brake pads that need wearing in
Consider every possibility to properly diagnose the fault before diving into your toolbox.
What type of bike brakes do you have?
There are a variety of bike braking systems, but the two main categories are rim brakes and disc brakes.
Rim brakes
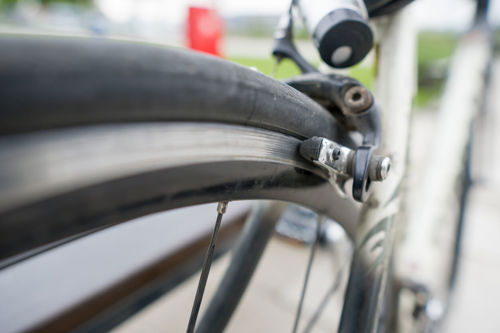
Rim brakes, otherwise known as side-pull calliper brakes, work by pushing a set of pads against the wheel’s rim to slow its rotation.
They were once the most popular choice for road bikes, but their popularity has since dwindled due to their inferior performance in wet weather compared to disc brakes.
The average bike rider will find rim brakes sufficient, especially as the bike models that feature them are much less expensive than those with disc brakes. They're also super-lightweight.
When looking at how to stop your bike brakes from squeaking, remember that incorrect set-up is a big cause for rim brake malfunction. Keep reading for more on how to properly address this.
Disc brakes
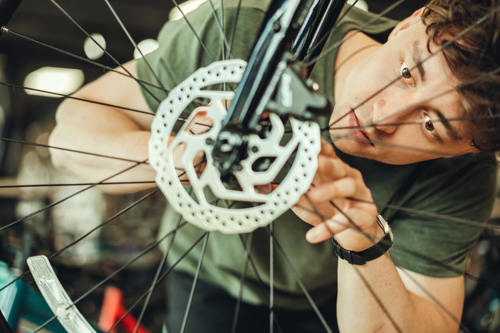
Disc brakes are used on most new bikes, whether they’re road bikes, hybrid bikes, or mountain bikes.
They've been the go-to option for mountain bikes for years due to their excellent stopping power in various weather conditions.
Instead of pushing pads against the wheel’s rim, disc brakes are housed on its hub, pressing against a brake rotor or ‘disc’ at the centre.
A common cause for squeaky disc brakes is the rotor bending out of shape, which can cause the brakes to become misaligned. Bending can occur through general wear and tear but can sometimes be rectified through reshaping. More on this below.
How can I stop my bike brakes from squeaking?
Now that you understand the differences between rim and disc braking systems, you’ll have a keen eye when it comes to locating the problem behind your squeaky bike brakes.
Before you rush into action, though, check out our step-by-step guide on how to stop bike brakes from squeaking.
Often, the issue is simply a case of dirty or contaminated brakes that need a quick clean, so it’s wise to try the simple methods first. However, we’ve also covered how to fix the more pressing issues, too.
How to stop rim brakes from squeaking
Step 1 – Check that they’re clean
The first step of this process should always involve checking for any dirt, grit, or debris that might be caught underneath your brake pads.
Since the brake pads naturally wear down as you use them, these materials can easily become lodged in the available space, along with metal or rubber residue.
If your brake pads are caked with a layer of dirt and debris, their surface will be less effective at slowing the wheel rotation when it meets the rim.
Aside from the brake pads, you‘ll also need to check the surface of the wheel rim that meets them, as well as the callipers. Dirt and debris can restrict the effectiveness of your brakes and cause them to squeal as they strain to slow your bike.
How to clean dirty bike brakes:
- Remove the wheels from your bike
- Check for dirt on the brake pads and the surrounding areas
- Use a cloth to carefully remove any initial clumps of dirt
- Use a new cloth and some acid-free bike cleaner to remove stubborn dirt
- Re-attach the wheels once the brakes and wheel rims are clean
- Check if you still have squeaky bike brakes
NOTE: If the dirt looks as though it may be oil or lubricant (it usually has a greasy texture), you may need to use a degreaser to remove it. Contamination through heavy chain lubing is one of the most common causes of squeaky brakes!
Step 2 – Check the brake pad condition
If you haven’t done so already, you should inspect your brake pads for signs of general wear and tear. If you’ve had them for a while, it could simply be that they’ve become worn, and it’s time to replace them.
We’d recommend researching the best type of brake pad to go with the material of your wheel rims, as this can make a huge difference to how accurate their connection is and how noisy your bike brakes are!
Ultimately, replacing your brake pads is a last resort to stopping your rim bike brakes from squeaking. If you go through the proper process of elimination when it comes to the cause of the issue, you shouldn’t experience it again after investing in a new set of pads.
How to stop disc brakes from squeaking
Step 1 – Check if they’re clean
The way disc brakes are positioned means they attract much less dirt than rim brakes. Since the rotors and disc brake pads are much tighter together, it’s less likely for dirt and debris to get caught between them. However, you should still check their cleanliness.
Contamination through heavily lubing the chain is the most likely cause of unclean disc brakes, so keep this in mind before your next bike maintenance session.
To fix contamination on the rotor, you can simply:
- Grab a cloth and some disc brake cleaner
- Spray the cleaner directly onto the rotor
- Wipe away any oil with the cloth
Things are a little trickier when fixing contamination on disc pads. To inspect them, you can:
- Remove the wheels from your bike
- Carefully remove the brake pads
- Check the pads for oil and grease
If they're contaminated, you can try applying mud to the area once the brakes and wheels are re-attached and then braking hard. Sometimes this is enough to rectify the issue.
However, if this doesn’t work, you may need a vice and blow torch to boil the oil away. If you don’t own one of these, a trip to your local bike shop might be on the cards.
Step 2 – Check if the pads or rotors are glazed
If your brake pads are not contaminated, they could be glazed over, along with the rotors they’re pressing against.
This can lead to the braking surfaces becoming worn down and smooth. This is a natural result of repeated braking and will happen to most cyclists using disc brakes at some point.
You’ll need to return the rotors and pads to their rough state to resolve this issue. For the rotors, you can:
- Wipe them down using disc brake cleaner and a cloth
- Grab some 150-grade sandpaper
- Rub them gently in a circular motion
- Change the sanding direction to up and down or side to side
- Continue until the surface is rough again
Using different sanding motions will help prevent the same issue from occurring in the future, as an uneven surface will make another glaze less likely to appear
Once you’ve done that, here’s how to fix the brake pads:
- Grab your 150-grade sandpaper again
- Place it on a flat and stable surface
- Hold the pads firmly, and rub them against the sandpaper (face down)
Continue this process until the roughness returns to the surface.
Step 3 – Check the alignment of the callipers
To check the alignment of your callipers, place your bike in a stand and spin the front wheel.
If it spins freely and the callipers provide equal space on either side of the disc brake pads, they are aligned properly.
However, if the space is uneven and the wheel doesn’t move freely when you spin it, this could be your issue. Luckily, this is an easy fix, and you should have no problem re-centring the callipers yourself.
With your bike still in the stand, you can:
- Loosen the mounting bolts securing the callipers in place
- Sharply apply the brakes, re-tightening the bolts whilst doing so
Once you've done this, repeat the checking process with the back wheel.
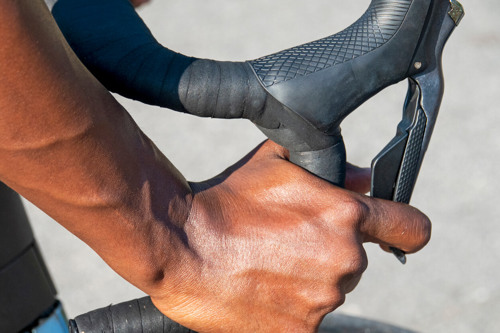
Step 4 – Check the set-up of your brakes
Are your rim brakes misaligned? The easiest way to spot this is by applying the brake and checking how the pads and the wheel rims are meeting.
If it doesn’t look quite right, carefully loosen the mounting bolts and reposition the brake pads to ensure they’re making a strong connection with the rims.
Another fix is to toe-in the brake pads. They are usually set up parallel to the wheel rims, but this process involves altering the pads, so their front section touches the rim first.
This gives the bike a more gradual braking system and lessens the chance of squeaky bike brakes.
How to toe-in your brake pads:
- Place a standard piece of card between the brake pad and the rim
- Apply your brakes to ensure it stays in place
- Use an Allen key to loosen the bolt securing the callipers slightly (this resets the pad’s position)
Re-tighten the bolt to complete the process.
Step 5 – Check if the rotors are bent
Another issue specific to disc braking systems is bent rotors. This is most likely your issue if re-centring your callipers didn’t work.
Place your bike in a stand and spin the front wheel to check for bent rotors. Observe how the rotor moves about the callipers and whether it remains in a straight position.
If it is bent, you can try pushing it back into shape by:
⦁ Grabbing an adjustable spanner
⦁ Fitting it to the width of the rotor
⦁ Applying it to the bent area and gradually using resistance to bend it towards its original position
If this doesn’t work and the rotor is too bent, you’ll need to replace it.
Specialist bike insurance through Cycleplan
There’s nothing worse than something going wrong with your bike, especially after investing so much money. You might want to consider giving yourself peace of mind by protecting your bike and accessories with bike insurance.
Learn more about how Cycleplan can help, or get a quote online today.
Please note the information provided on this page should not be taken as advice and has been written as a matter of opinion. For more on insurance cover and policy wording, see our homepage.