How to wrap handlebar tape
04 April 2025
Nothing affects the look of a road bike like worn-out and dirty bar tape. Fresh tape makes the bike look and feel great again! Here’s our handy step-by-step guide to wrapping drop handlebars.
1. Out with the old
Firstly, remove the old tape and clean up any residue left on the handlebar. Sometimes, bits of the old tape and glue residue can get left behind. You don’t want to wrap over the residue, as this could create bumps and bulges—not what you want on a freshly wrapped handlebar!
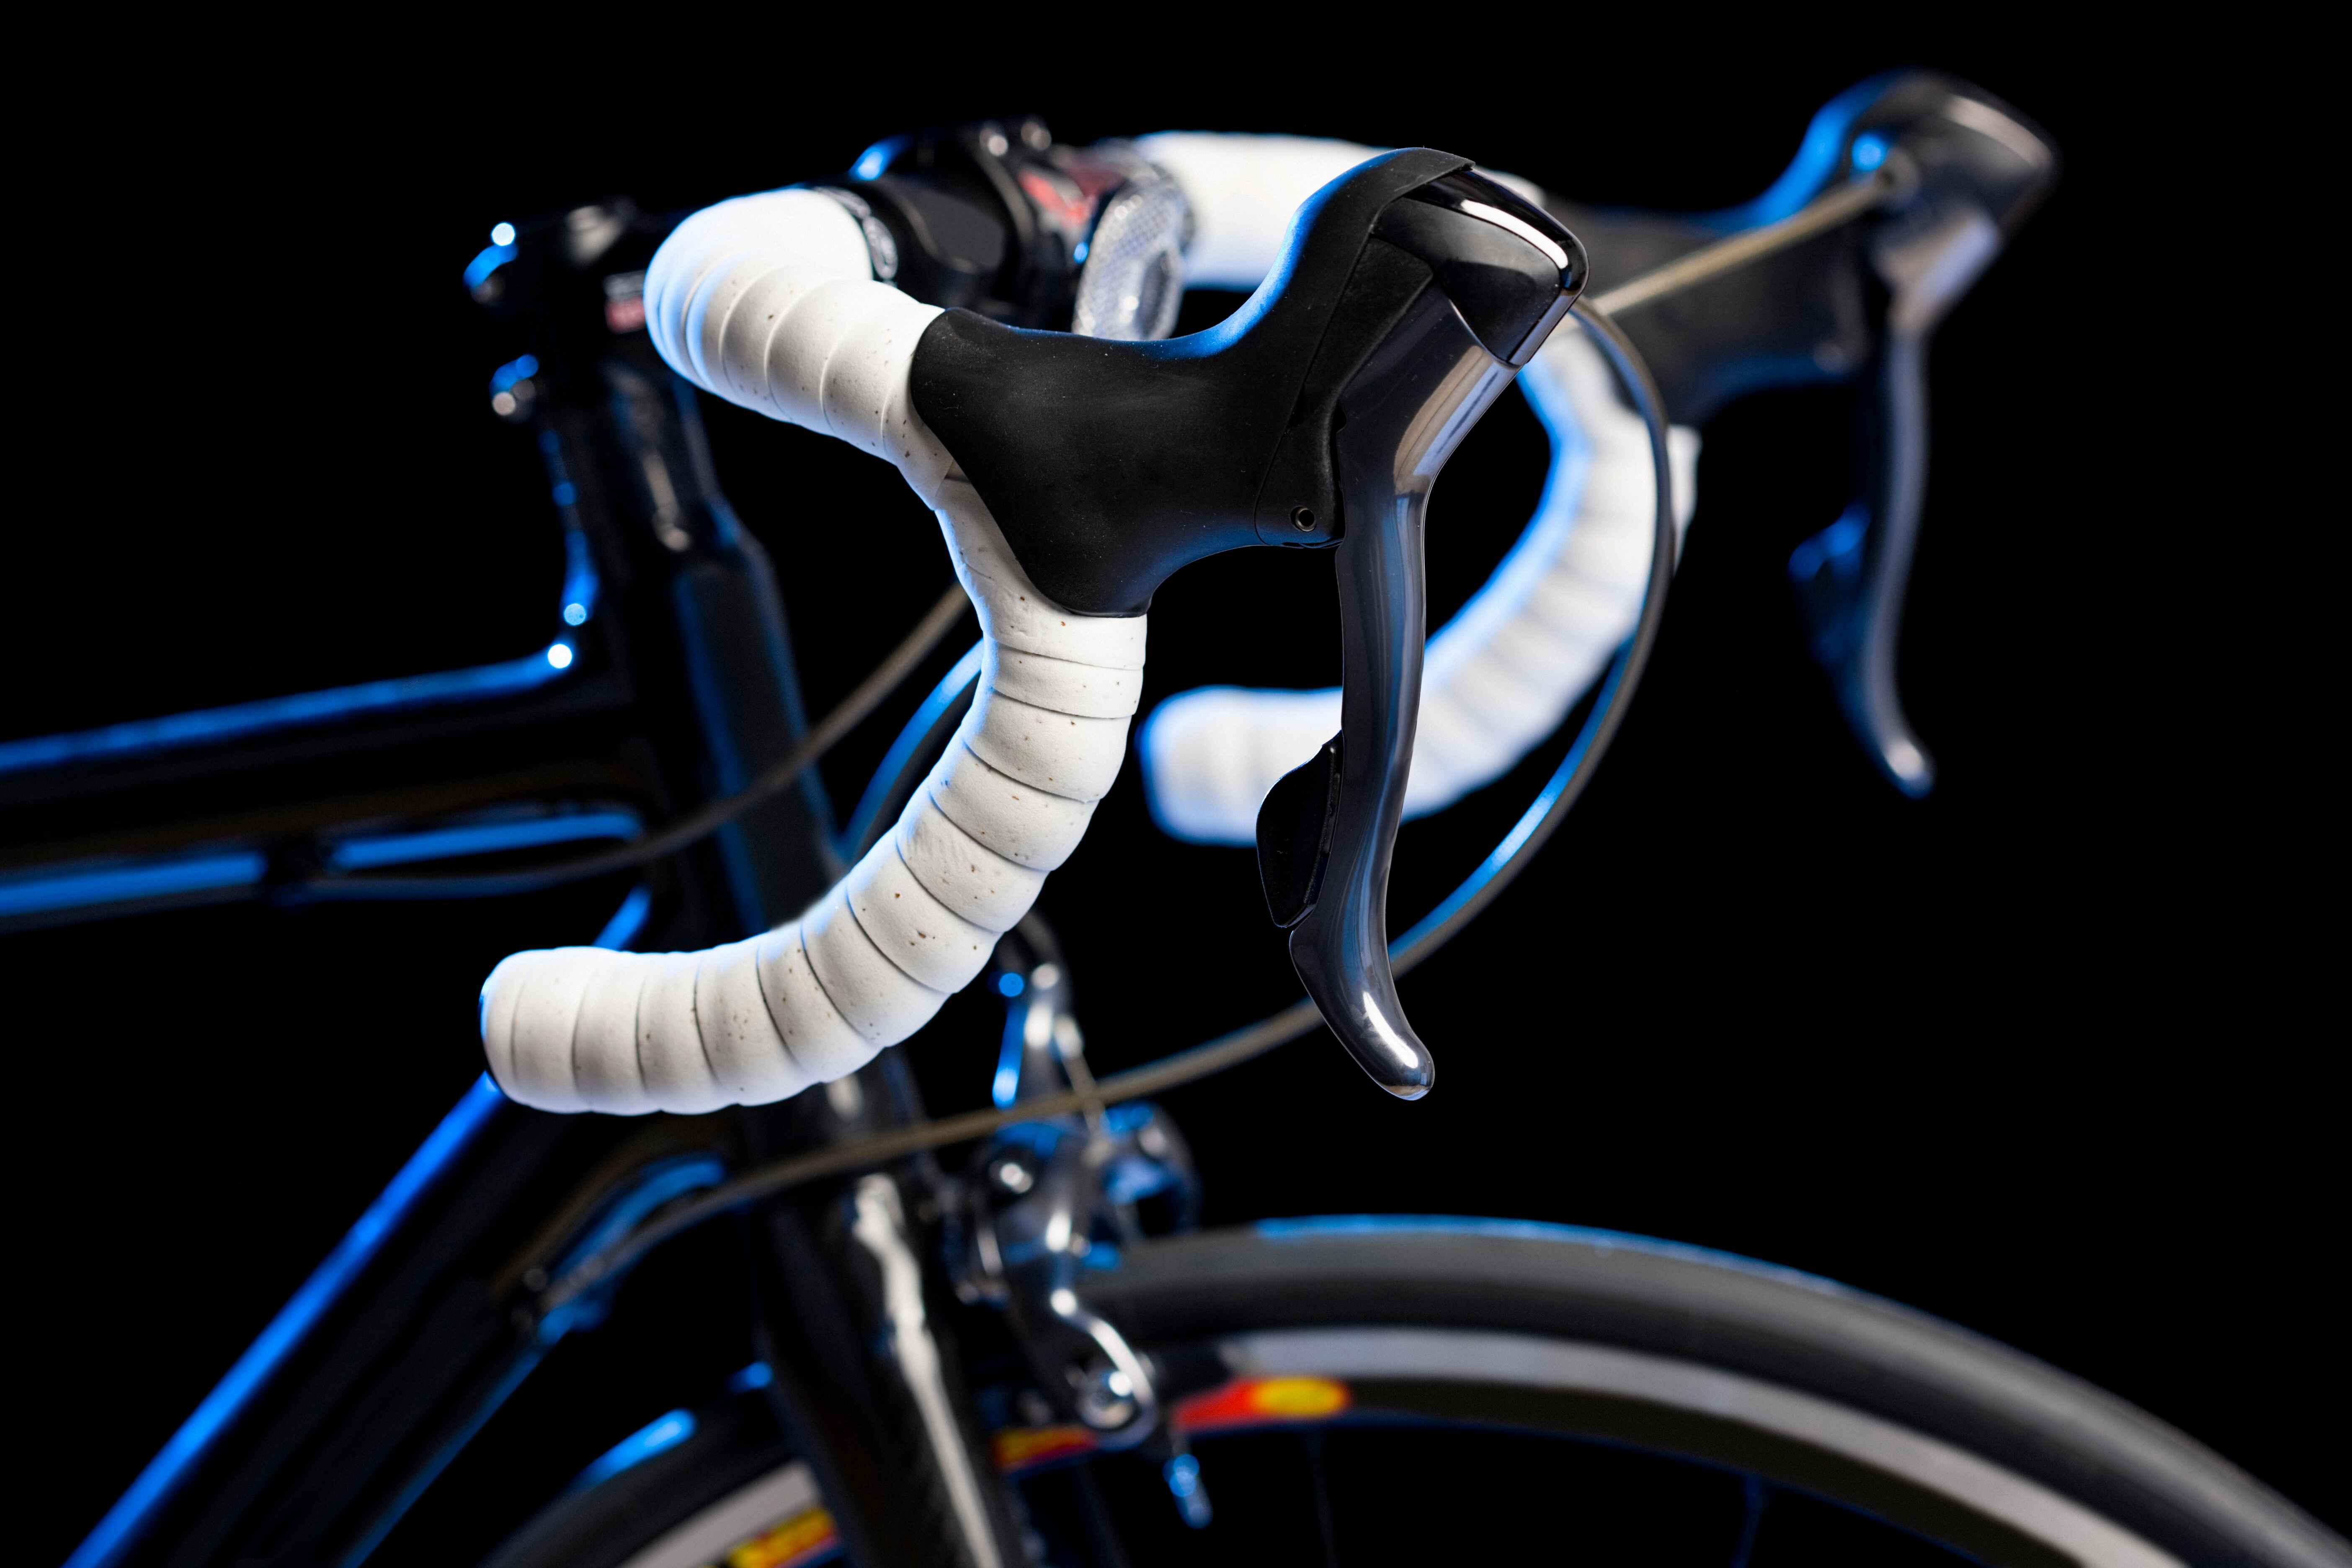
2. Inspect the clean handlebars
When you have removed the bar tape, inspect the cable housing and ferrules where they enter the brake levers and assess whether you need to make any replacements.
This is also a good time to reposition the levers on the bar if necessary, as it’s much harder to make these adjustments once the bars are wrapped.
3. Plan your route
Once you’ve used electrical tape to secure the cable housing to the handlebar, you need to decide where you want the handlebar wrap to end. Once you’ve decided, use some more electrical tape to mark the endpoints.
4. Clamp covers...
Opinion is divided over whether to use clamp covers. Some prefer less bulk behind the clamp, while others like the finish they give. If you decide to use them, most tape packs come with a couple of short tape sections. All you have to do is trim them to the exact length needed so they’re ready for application later.
5. Time to wrap!
Start your wrap at the bar end. Always wrap from the inside outward. This means on the right side, you’ll wrap clockwise; on the left, counter-clockwise. Putting the tape on this way means the wrapping is better equipped to resist the stresses from the rider’s hands in the drops (which tend to pull the tape in the opposite direction).
Position the end of the tape so that it extends about halfway over the edge of the bar. Keep the tape tight while wrapping a couple of turns. At this point, we recommend installing your bar plug. Putting in the plug early allows you to go back and even things out at the bar end if necessary.
Start wrapping while keeping the tape taut without overstretching it. Remember, some types of handlebar tape might need more tension than others. Ensure the wrap is even as you move along the bar.
6. A figure of eight
Most people find navigating the brake levers the hardest part about wrapping drop handlebars. There are many different methods for doing this, but we think the best method is the figure of eight.
When you get the tape half a length away from the lever body, position the piece you pre-cut for covering the clamp (step 4) and then wrap up and across it, coming over the top of the lever body and crossing back over and down again.
Once you have successfully navigated this, bring the tape up past the lever and back onto the bar again, keeping an even tension. You can now continue wrapping, keeping the gaps even up until the point you marked for the tape to end (step 3).
7. Nearly there...
Extend your wrap just beyond this end-point mark and trim the excess, leaving about 1–2 inches extra. Once you’ve done this, cut the tape to match the angle of the wrapping.
The tape should now align with your end point—you may want to stretch or trim it to make it perfect. Use a short section of electrical tape to secure the trimmed end neatly into the end of the final turn. We recommend going around a few times to make it nice and even. Cut your electrical tape and finish the whole look with the logo tape (often) supplied with the bar tape.
Once you’ve repeated these steps for the other handlebar, the only thing left to do is sit back and admire your excellent work!
Specialist cycling insurance through Cycleplan
Once you're ready to take your newly wrapped handlebars for a test drive, you may want to consider protecting your bike with specialist cycling insurance through Cycleplan.
This protects you if your bike is lost, damaged or stolen, providing you report it to the police within 24 hours.
At Cycleplan, we arrange equipment cover for a range of bikes up to a total value of £30,000. We also offer additional policies such as public liability and personal accident cover.
Find out more about specialist cycling insurance or get a quick online quote today.
Please note the information provided on this page should not be taken as advice and has been written as a matter of opinion. For more on insurance cover and policy wording, see our homepage.