
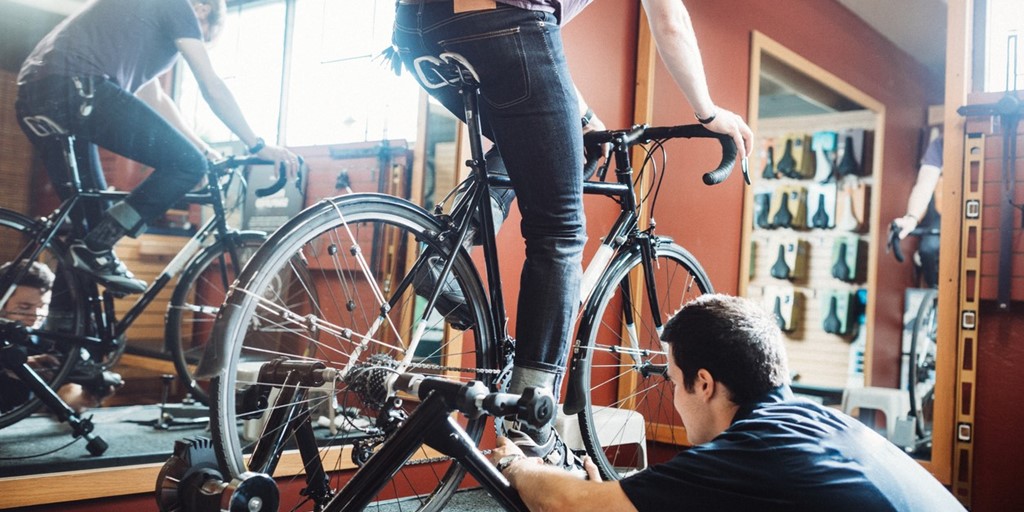
Getting the right bike fit is something that everyone knows the importance of – it keeps injury at bay, helps you go faster and further and makes the overall cycling experience a lot more comfortable. Yet so many people get their bike fit wrong. This is surprisingly easy to do as there are so many components to get right. That’s why we’d recommend getting your bike fitted by a professional if you can.
However, this isn’t always possible, plus, if you’ve just forked out for a brand-new road bike, you probably don’t want to be reaching into your pocket for a professional bike fitting. That’s why we’ve created this handy guide to the basics of getting your bike fit right.
Read more: The Ultimate Bike Maintenance Guide
Saddle
The saddle is arguably the most fundamental part to get right but, luckily, the basics are easy to get the hang of. First and foremost, the distance between the top of the saddle and the bottom bracket should be your inseam measurement minus 10cm. A simple way to check your saddle height is correct is to sit on your bike and spin the pedals to the half-twelve position. Your leg should be very slightly bent and not completely locked out while your heel is in the middle of the bottom pedal.
Next, you need to adjust the saddle fore and aft (how far forward your saddle is on the rails). An excellent way to figure this out is to turn your feet to the quarter-past and quarter-to position, and your forward kneecap should sit directly above the pedal’s axle. The pressure of your hands on the handlebar is also a good indicator of whether you’ve got it right – pressure should be slight but not completely absent.
Read more: Cycleplan’s Top 5 Cycling Hacks
Handlebars
Now it’s time to handle the bars (sorry we couldn’t resist). Unlike the saddle where the fit is more prescriptive for the good of your posture, your handlebar height depends more on what you find comfortable. However, if performance and speed are one of your priorities, you’ll want to have your handlebar height on the lower side of things, so you have a more aggressive position on the bike.
However, we don’t recommend lowering your handlebars below the height of your seat. If you do this, you’ll be pushed more onto your handlebars, therefore placing more stress on your wrists, arms, neck, and back. The handlebar reach can also be adjusted by changing the stem length – bikes are usually designed around the stem already being the optimum length, but it can be altered a millimetre or two!
It’s tricky to assess the exact handlebar height and reach that’s best for you before you’ve been riding on your bike for a while – a lot of trial and error may be needed before you get it right. As a starting point, aim to set your handlebars up so that you’ve got a slight bend in your elbows.
Read more: How To Wrap Drop Handlebars
Cockpit
The cockpit of the bike refers to the combination of the handlebars and the controls (such as the brakes) that are mounted on them. Once you’ve got your handlebar fit set up, you’re already halfway there to the perfect cockpit. The main thing left to adjust is the brake reach – how far you need to stretch your fingers to reach the brakes.
Traditionally, brakes were set up so that the tips of them were in line with the bottom of the drop handlebars, but now it’s widely regarded that having the brakes set slightly higher is best. While your hands are on the brakes, your wrists should either be at a neutral angle or reaching slightly upwards.
Angles aside, the most important part of brake adjustment is ensuring you’re able to comfortably control your brakes while still having a secure grip on the handlebars. If you’re unsure where to start, start there.
Now you’ve fine-tuned your bike fit, it’s time to hit the road! However, before you do, be sure to check out our cycling insurance.
Please note the information provided on this page should not be taken as advice and has been written as a matter of opinion. For more on insurance cover and policy wording, see our homepage.