How to change a bike chain in 6 easy steps
09 May 2022
It doesn’t matter how much TLC you give your bike chain—it won’t last forever. That’s why every cyclist needs to know how to change a bike chain at some point.
The chain tends to be the part of a bike that wears the quickest. This is mainly due to the impact of constant pedalling, weakening the chain’s links and internal pins over time.
As the wear worsens, you may find your bike chain no longer fits on the cassette. If this happens, the entire drivetrain will wear down much quicker, and you’ll notice your bike becoming more difficult to manoeuvre. That’s when you know it’s time to replace the chain.
While bikes differ between make and model, fixing the chain is a fairly straightforward process. Here’s how to change a bike chain in six easy steps.
Side note
The way you change your bike chain will depend on the type of chain your bike takes, as not all chains are universal. Some bike chains have what’s known as a quick-link (or master link), which makes attaching it to the drivetrain easier, while others, however, are made without.
Always check what type of chain your bike has before replacing it. You can also use a chain checker to check whether it’s indeed time for a replacement.
If the ends of the checker fit relatively easily into the links and it sits flat along the top of the chain, you know you need a new one.
What tools do I need to change a bike chain?
- Chain breaker (if your chain doesn't have a quick-link)
- Chain checker
- Chain hook
- Quick-link pliers (if your chain has a quick-link)
How do you change a bike chain?
Tools ready? Here we go.
1. Flip the bike and remove the old chain

First thing’s first—you’ll need to remove the old chain.
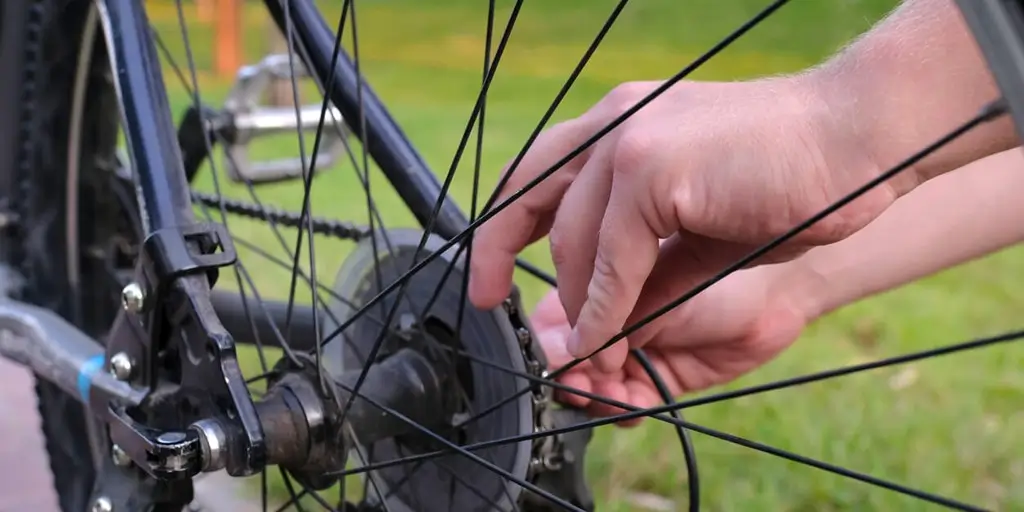
To do this, you’ll either want to flip your bike upside down (as shown) or attach it to a work stand. Make sure your bike is set to the lowest possible gear, too, as this will place the chain on the smallest cog on the cassette hence making it easier to remove.
Now’s when things differ slightly depending on which type of chain your bike has.
If the chain has a quick-link, you can remove it by squeezing both sides of the link towards each other with your pliers. You’ll know it’s been disconnected from the chain when it’s in two halves with a pin on either side.
However, if your chain doesn’t have a quick-link, use a chain breaker to take out one of its connecting rivets.
How to use a chain breaker
- Insert the chain link into the slots
- Line up the tool knob with the chain rivet
- Turn the dial to force the knob into the rivet hole
- Keep turning the dial until the rivet pops out
You can now remove the old chain from the cassette. Don’t discard it just yet, though, as you’ll need it again later.
2. Give the cassette a thorough clean

You’d be surprised how often cyclists forget to take proper care of their bike’s cassette when in actual fact, it’s a very important part of bike maintenance.
For those who may be wondering—the cassette is the cluster of cogs found attached to the back tyre, and changing your bike chain provides the perfect opportunity to give it a clean.
Cassettes can be cleaned either while attached or unattached from the tyre.
Though you can also clean the cassette with the old chain intact, removing it first will give you better results. Apply a squeeze of cleaning product or degreaser to a scrubber and get to work on the cogs.
And that’s it—there’s no hidden formula here. Simply keep scrubbing until you’re satisfied.
3. Size up the new chain

You then need to make sure the new chain you’re attaching is the correct length. Though that sounds fairly obvious, just one link too many can throw up a whole host of issues down the line.
Most bike manufacturers also produce individual chains to match their specific models, so you should be able to work out what type of chain you need rather easily.
Still, measure your new chain against the old one, laying them out on the ground beside each other, making sure the side plates match up on each one.
In the (likely) event the new chain contains more links, use your chain breaker to remove the excess ones.
4. Attach the new chain

Now it’s time to attach (or thread) the new chain.
Shift down to the smallest sprocket and thread the new chain through the front derailleur cage. Then, pull the chain across, loop it over the rear cassette, and round the upper jockey wheel on the derailleur.
What is a derailleur?
The derailleur is the device which allows your bike to change gear by moving the chain from one sprocket to the next. Most bikes have two derailleurs: one at the front and another at the back.
Continue threading the chain through the cage, but make sure you keep inside the dividers between each plate. Then, wrap the chain around the lower wheel.
It might take you a few goes to get it right, especially if it’s your first time changing a chain—but stay with it and seek help from others where possible.
5. Check the fixings

Once the new chain is fully threaded, check all the fixings are secure by closely examining the chain and running through the gears.
Ideally, there should be little to no slack in the chain when down in the smaller cassette rings. Riding with a loose chain could cause it to slip, which can lead to unnecessary damage down the line.
6. Take it for a test ride
The only thing left to do now is take your bike out for a test ride with its new chain.
Test riding lets you iron out any potential niggles before taking your bike out properly. Make sure the chain can switch between gears smoothly and doesn’t resist any pedalling.
Let’s say you cycle to work. The last thing you want is to be late because you didn’t test your new chain beforehand and instead spent Monday morning rethreading it!
Trust us—future you will thank you.
Specialist cycling insurance through Cycleplan
Now you know how to change a bike chain, you’ll be back on the road in no time—but you also need to make sure you have bike insurance too.
Specialist bike insurance protects you from injury or claims that might be made against you and your bike in the event of theft, damages, or if it’s stolen (providing you report it to the police within 24 hours).
Through Cycleplan, you can also get equipment cover for a range of bikes and accessories up to £30,000.
Learn more about our specialist cycling insurance here and get an online quote today.
Please note the information provided on this page should not be taken as advice and has been written as a matter of opinion. For more on insurance cover and policy wording, see our homepage.